티스토리 자동화를 위해서는 API가 필요한데, 이 API를 사용하기 위해서는 OpenAPI 신청과 매번 새로운 access token이 필요하다. (access token의 유효시간은 1시간이다)
직접 access token 발급받기
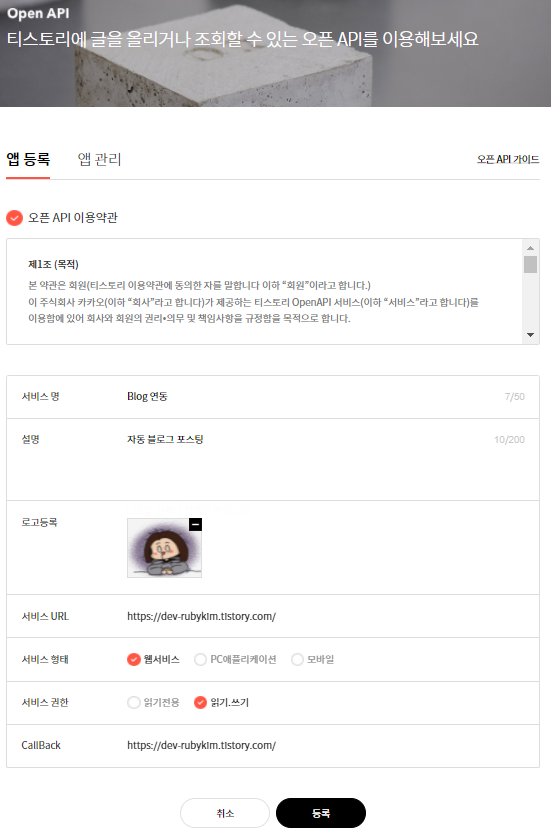
- 블로그 API 등록 사이트에 접속 후 작성한다.
- 서비스 URL: 블로그 주소
- CallBack: 블로그 주소
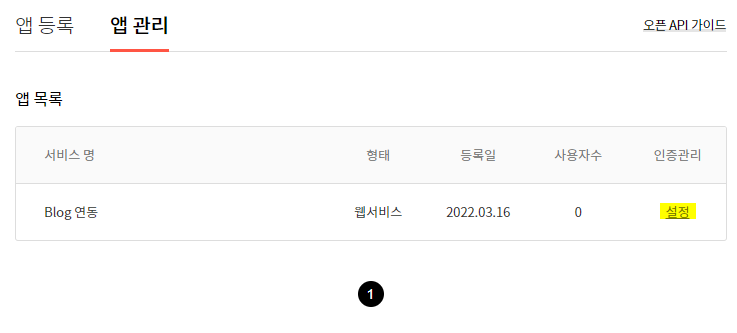
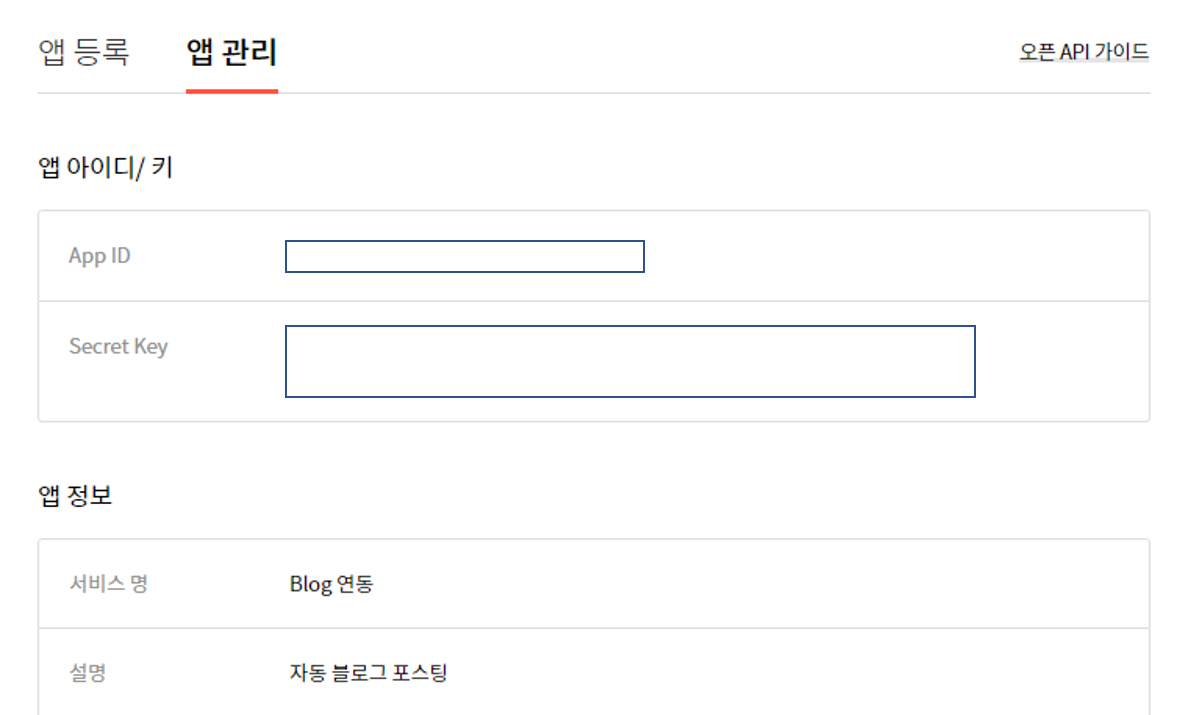
- [앱 관리] 탭에서 설정 부분을 눌러 App ID와 Secret Key를 확인한다.
- 먼저 본인 정보에 맞게 아래의 주소를 변경하고 접속한다.
https://www.tistory.com/oauth/authorize?client_id={App ID}&redirect_uri={블로그 주소}&response_type=code&state={state-param}
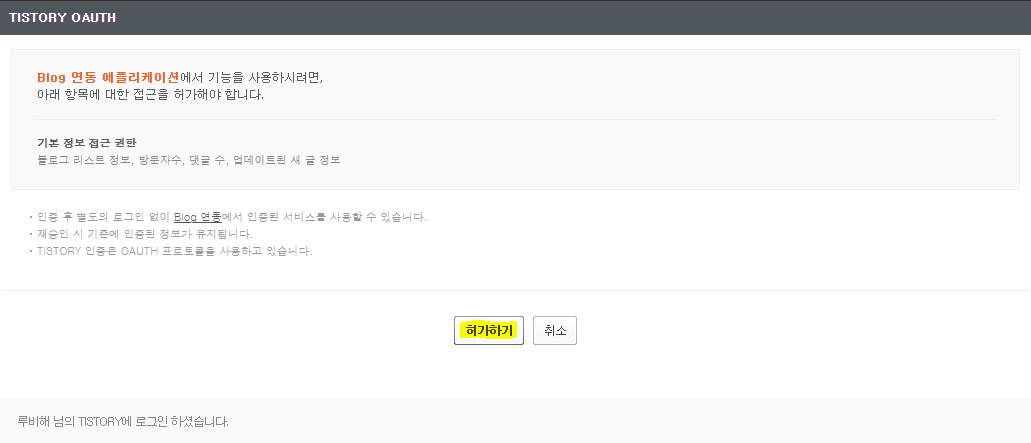
그러면 위의 페이지가 뜨는데 ‘허가하기’ 버튼을 눌러주면 된다.
허가하기를 누르면 본인 블로그로 보내지는데, 이때 그 상태의 주소창 주소를 잘 기억하자. (Code값이 필요함)
https://{티스토리 설정 주소}.tistory.com/?code={여기 값을 기억하자}&state={state-param}- 아래의 주소로 다시 접속해서 access-token을 발급받는다.
Network(F12)를 확인하면 access_token을 확인할 수 있다.https://www.tistory.com/oauth/access_token?client_id={App ID}&client_secret={Secret Key}&redirect_uri={블로그 주소}&code={3번 결과값에서 code부분}&grant_type=authorization_code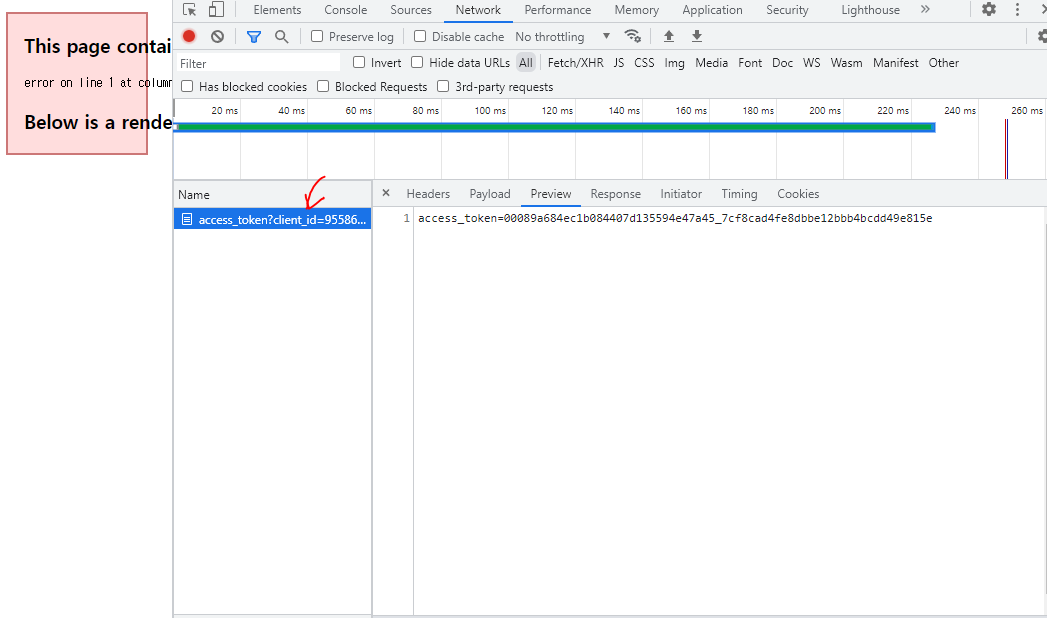
Github Action을 통해 자동으로 access token 가져오기
그런데 우리의 목적은 글 자동 업로드기 때문에,
유효기간이 1시간인 access-token을 매번 발급받기에는 위 방법은 적합하지 않다.
따라서 이러한 과정들을 파이썬으로 구현해봤다.
import modules
import requests
from selenium import webdriver
from selenium.webdriver.common.by import By
from urllib.parse import unquote
import time
import os- 페이지를 동적으로 가져오기 위해 selenium을 import함
- 중간에 파싱(code, access_token)할 때 인코딩 에러가 발생해서 이를 위해 unquote를 import함
초기값 세팅
class Tistory:
    def __init__(self, blogUrl):
        self.app_id = "발급받은 App ID"
        self.secret_key = "발급받은 Secret Key"
        self.tistory_id = "티스토리 아이디(kakao 계정)"
        self.tistory_pwd = "티스토리 비밀번호(kakao 계정)"
        self.tistory_rss = blogUrl + "rss"

        # Etc params
        self.callback_url = blogUrl
        self.oauth_url = 'https://www.tistory.com/oauth/authorize'
        self.access_token = None

        # selenium setting params
        self.webdriver_options = webdriver.ChromeOptions()
self.webdriver_options.add_argument('headless')- 프로그램 제작에 있어 기본적인 변수들을 선언
- webdriver_options는 webdriver 창 나오는거 방지를 위해 작성
티스토리 카카오 로그인
class Tistory:
    def __init__(self, blogUrl): (...)

    def login_kakao(self, browser):
        """
        login kakao account
        :param browser: chrome webdriver (windows: .exe)
        :return:
        """
        browser.get(self.oauth_url + "?client_id=" + self.app_id
                    + "&redirect_uri=" + self.callback_url + "&response_type=code")
        browser.find_element(By.CLASS_NAME, "txt_login").click()
        time.sleep(5)
        username = browser.find_element(By.ID, "id_email_2")
        password = browser.find_element(By.ID, "id_password_3")
        username.send_keys(self.tistory_id)
        password.send_keys(self.tistory_pwd)
        browser.find_element(By.CLASS_NAME, "btn_confirm").click()
        time.sleep(5)
browser.get(browser.current_url)- selenium을 이용한 티스토리 카카오 로그인 코드
- selenium으로 하다보니 코드 로딩 전에 프로그램이 진행되어 정확한 값이 나오지 않아 오류가 발생하는 경우가 있어 중간에 sleep을 넣어줌
티스토리 Oauth 확인 및 access token 생성
class Tistory:
    def __init__(self, blogUrl): (...)
    def login_kakao(self, browser): (...)

    def confirm_tistory_oauth(self, browser):
        """
        clicking confirm button in tistory oauth page
        :param browser: chrome webdriver (windows: .exe)
        :return:
        """
        time.sleep(5)
        browser.get(browser.current_url)
        try:
            time.sleep(5)
            browser.find_element(By.ID, "contents") \
                .find_element(By.CLASS_NAME, "buttonWrap") \
                .find_element(By.CLASS_NAME, "confirm").click()
            browser.get(browser.current_url)
            time.sleep(5)
            if "code" in browser.current_url:
                url = unquote(unquote(browser.current_url.encode('utf8')))
                end = url.find("state=")
                start = url.find("code=")
                code = url[start + 5:end]
                response = requests.get(
                    "https://www.tistory.com/oauth/access_token?client_id=" + self.app_id
                    + "&client_secret=" + self.secret_key
                    + "&redirect_uri=" + self.callback_url
                    + "&code=" + code
                    + "&grant_type=authorization_code")
                if response.status_code == 200:
                    access_token = response.text.split('=')[1]
                    return access_token
                else:
                    assert "Failed to generate access token: status error"
        finally:
            browser.quit()
return None- 여기도 마찬가지로 너무 빨라 코드 로딩이 안됐는데 파싱하는 경우가 생겨 sleep을 넣어줌

